AI Product Photography at Home: Studio Shots Without a Studio
9 min read • Updated September 2026
QUICK ANSWER
Shoot a clean daylight base photo, then prompt studio looks with one background, one light direction and at most one prop. Square 1:1 for listings, keep real pixels for logos and fine print, and generate three variants per product.
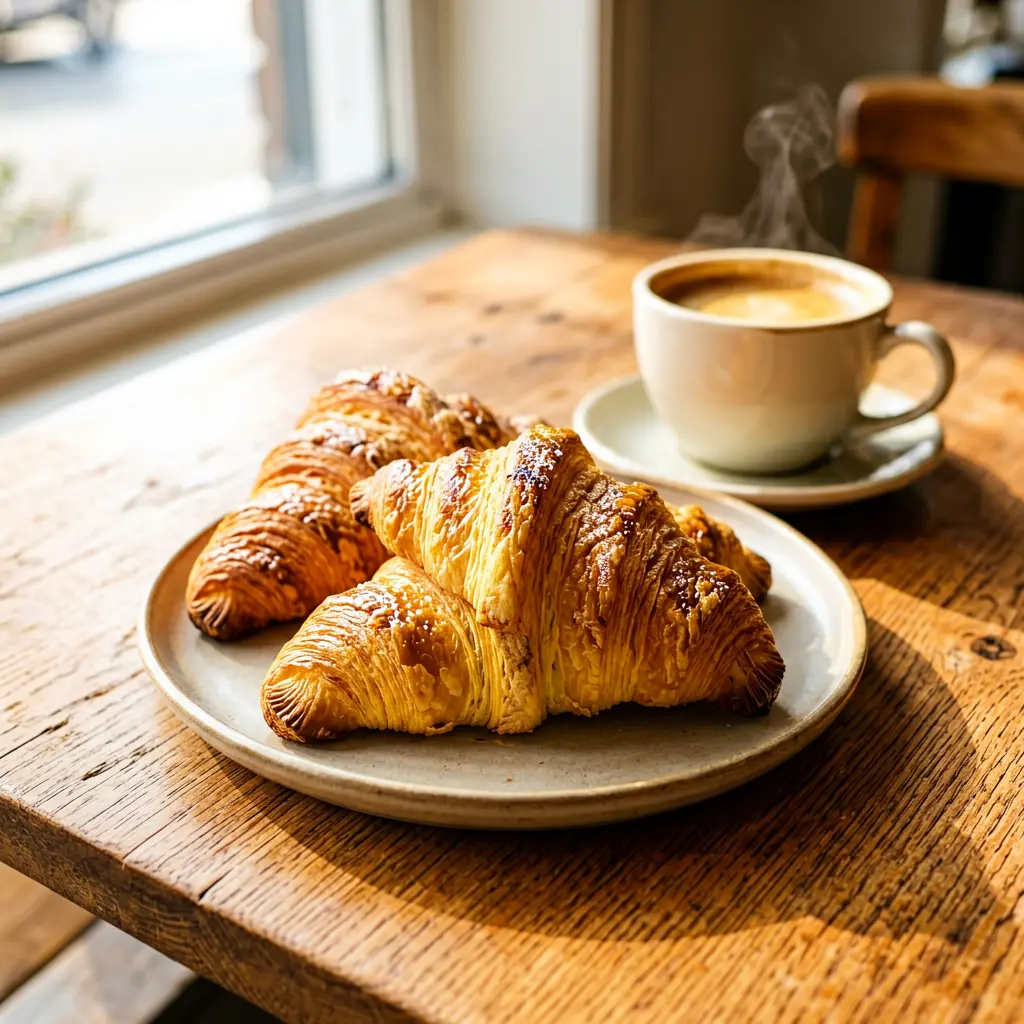
Professional product photos used to mean renting a studio, hiring a photographer, and paying per shot. For small sellers that math never worked — so listings went up with dim kitchen-table snapshots, and conversion suffered. AI image generation quietly ended that tradeoff: a decent phone photo plus the right prompt now produces studio-grade listings for free.
This guide is a practical workflow, not theory. You will learn how to shoot a usable base photo with your phone, which backgrounds and light to ask the AI for, the prompt templates that work across product categories, and the mistakes that make AI product shots look fake to buyers.
Start with a clean base photo
AI works best as an enhancer, not a magician. Shoot your product near a window in daylight, on a plain surface, filling at least half the frame. Wipe the lens, turn off overhead yellow lights, and take ten shots from slightly different angles — you only need one sharp, well-exposed base. A blurry or tiny original cannot be rescued, no matter how good the prompt is.
If the product has text, logos, or fine print, photograph those areas separately and plan to composite or keep them untouched. AI regeneration mangles small text reliably, so the rule is simple: let AI handle backgrounds and lighting, keep real pixels wherever exact detail matters.
Pick backgrounds that sell, not distract
The background does half the selling. For most products, a soft neutral gradient, light wood, marble, or linen texture outperforms anything dramatic — buyers focus on the product instead of the scenery. Ask for "seamless studio background, soft shadow under product" and you get the classic e-commerce look that marketplaces reward.
Lifestyle context works when it matches the product story: coffee beside croissants, soap on wet stone with eucalyptus, headphones on a clean desk. One context element is plenty. Two or more and the eye wanders; wandering eyes do not click buy buttons.
Light it like a photographer would
Product photography lives or dies on light direction. The most flattering setup ever invented is a large soft light from one side — "soft window light from the left, gentle shadow falloff to the right" reproduces it in AI every time. Front-on flat light makes everything look like a passport photo; hard top light makes food look sad.
Match color temperature to appetite and mood: warm light (morning sun, candle glow) for food, cosmetics and home goods; clean neutral daylight for electronics and tools. And always ask for realistic contact shadows — a product floating shadowless on a background is the fastest way to scream "fake" to a buyer.
Prompt templates that work
Template one, studio clean: "professional product photo of [product], centered, seamless light-gray studio background, soft window light from the left, realistic soft shadow, ultra sharp, commercial photography." Template two, lifestyle: "[product] on [surface] beside [one prop], warm morning light, shallow depth of field, cozy atmosphere, photorealistic." Fill the brackets, change nothing else on your first ten tries.
Generate square 1:1 for marketplace listings (every platform crops to square or circle anyway) and 4:3 or 16:9 for hero banners. Make three variants per product and A/B test the thumbnails — click-through differences of 20–30% between backgrounds are completely normal.
The fakes buyers spot instantly
Five tells ruin AI product shots: warped logos or text, impossible reflections, hands holding things (see the hands-faces rule — avoid hands entirely), inconsistent scale between product and props, and plastic over-smoothing on food or fabric. Scan every output at full size before publishing, especially edges where product meets background.
The fix is always restraint. Fewer props, simpler backgrounds, real pixels for logos, and one more generation round when something looks off. A slightly plain but believable photo outsells a spectacular fake every time — trust converts, spectacle just scrolls by.
Batch the boring parts
Shooting fifty products one by one with full styling each time burns entire weekends. Professionals batch ruthlessly: one daylight window, one background setup, products lined up in queue, same camera position locked on a tripod mark. Shoot everything straight first (the safe set), then spend leftover light on five lifestyle heroes. The per-product time drops from an hour to minutes.
Apply the same batching to AI work: write all prompts in a spreadsheet first (product, background, light, ratio), generate in one session, review in another, publish in a third. Context-switching between prompting and reviewing halves your output. And keep a "winners" folder of backgrounds and light setups that converted — reuse beats reinvention for catalog work.
QUICK TIPS
- ✓ Shoot the base photo in daylight by a window — AI cannot rescue blur or darkness.
- ✓ One background, one light direction, one prop at most.
- ✓ Square for listings, wide for banners; generate both from the start.
- ✓ Keep real pixels for logos and fine print; let AI do backgrounds and light.
- ✓ Check edges and reflections at full size before publishing anything.
- ✓ Three variants per product, keep the click-through winner.
Frequently asked questions
Can AI product photos replace a photographer?+
Will marketplaces penalize AI images?+
What size should I generate?+
How do I keep colors accurate?+
Food looks fake in my generations — why?+
Plain or lifestyle backgrounds for listings?+
Cite this page: Clipaist Editorial, "AI Product Photography at Home: Studio Shots Without a Studio", Clipaist, September 2026. https://clipaist.com/guides/ai-product-photography-at-home/
Clipaist Editorial
We test every AI tool and prompt before publishing. Questions or corrections? Reach us on the Contact page.